Wallet Usage Guide
Local Node and Wallet Connection
Node Execution
- If the node is not installed, download and install the appropriate version for your PC from the Node Installation Page.
- Run the installed node. For more details, refer to the Node Execution Guide .
localhost Selection
Select 'localhost' as the network at the top of the wallet interface.
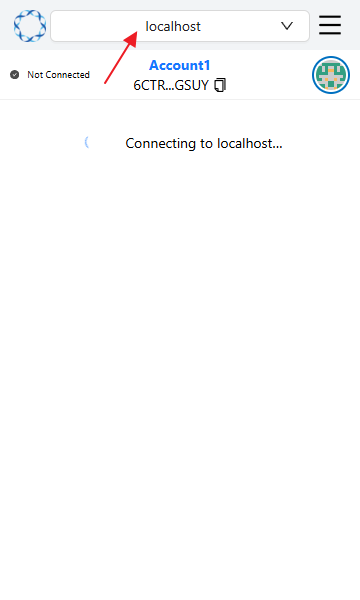
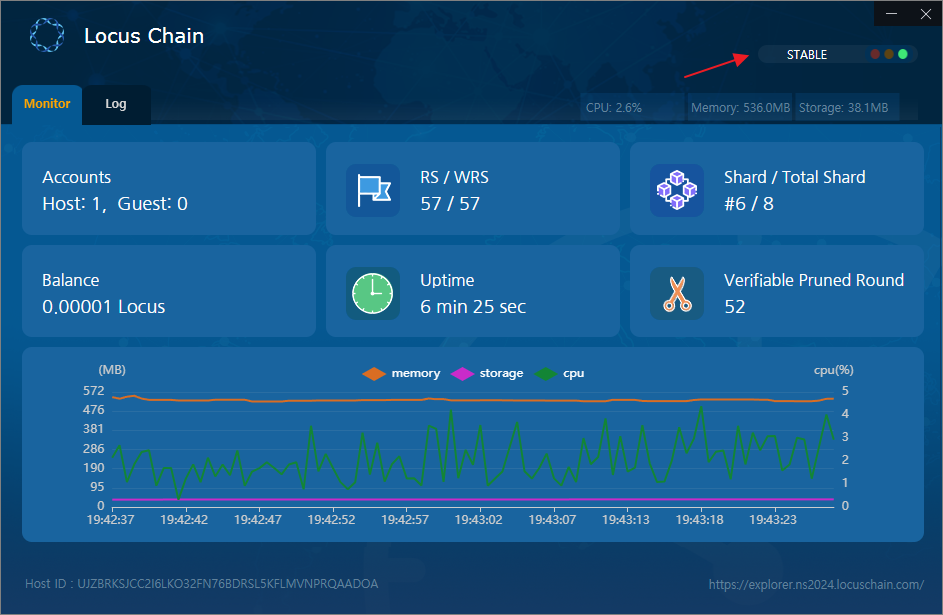
If the node is not in STABLE state, it may still be in preparation, and the wallet connection might not be available yet.
If the wallet fails to connect, please wait until the node is fully ready and try again.
Wallet Creation & Automatic Account Initialization
-
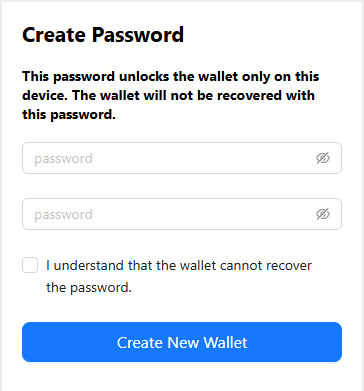
After the initial installation and execution of the program, this will lead you to the wallet creation page, as shown below. Click 'Create New Wallet' button.
-
Enter a password to unlock your wallet. Check the 'Agree' box, then click the 'Create New Wallet' button. Please note that the password cannot be recovered if lost; therefore, make sure to store it securely.
-
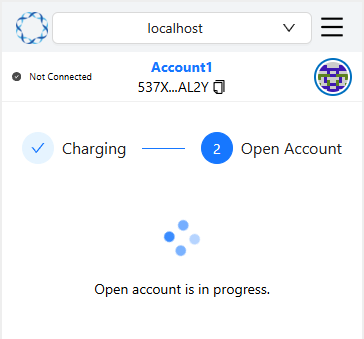
The account will be opened automatically. Please wait patiently until the process is completed. The process involves two steps and may take up to 2 minutes to complete.
- To open an account, a transaction is required. For testing, acquire coins from the faucet and initiate a transfer transaction.
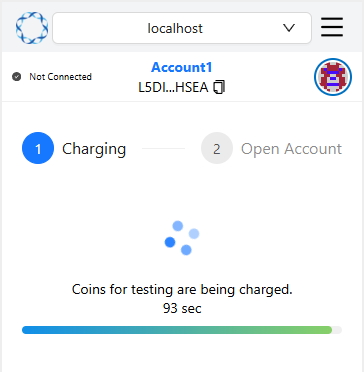
- Account Opening is in progress.
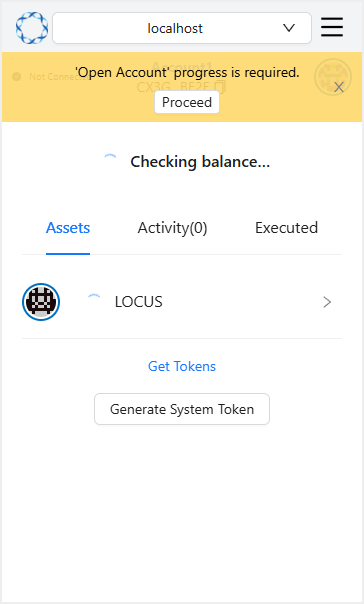
If you close and reopen the wallet window before the account opening is complete, a prompt will appear asking if you wish to continue. Click the Continue button to proceed.
-
You can verify that the account has been successfully created.
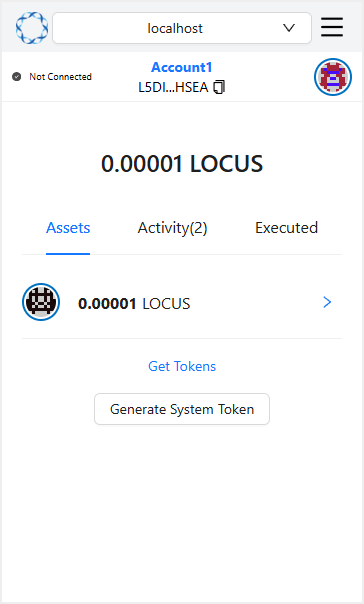
Logout
-
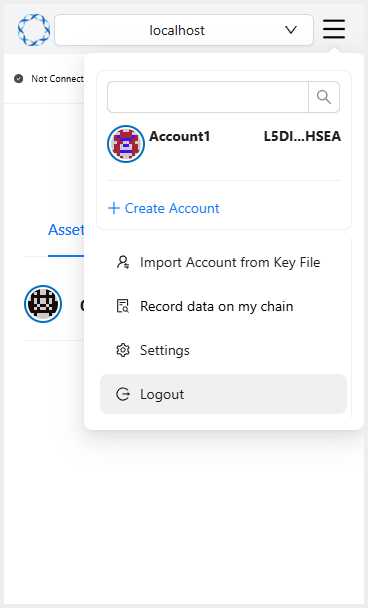
Click the 'Hamburger' icon in the top-right corner to access the menu. Click the 'Logout' button.
-
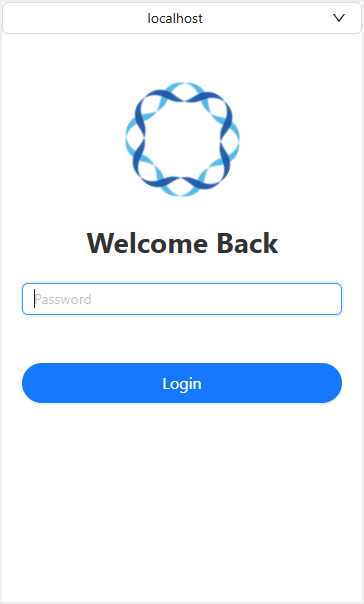
You will be logged out and taken to the login screen.
Connect to Site
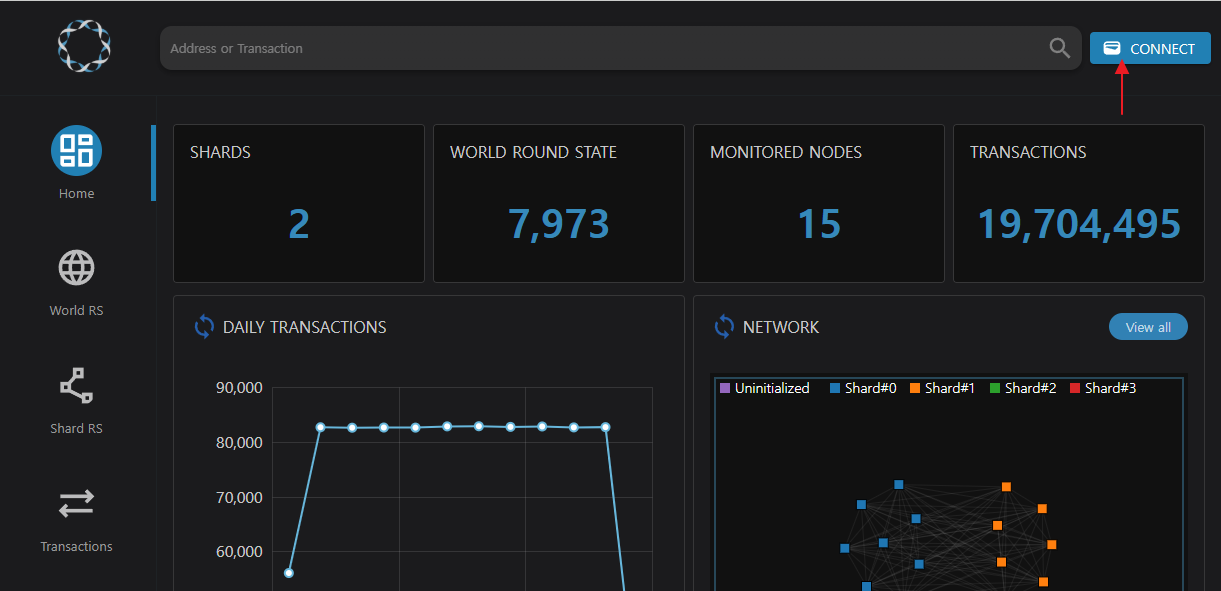
- Click the 'Connect' button on the Locus Chain integration services platform.
[Locus Chain Explorer] Connect through (https://explorer.testnet.locuschain.com/)!
-
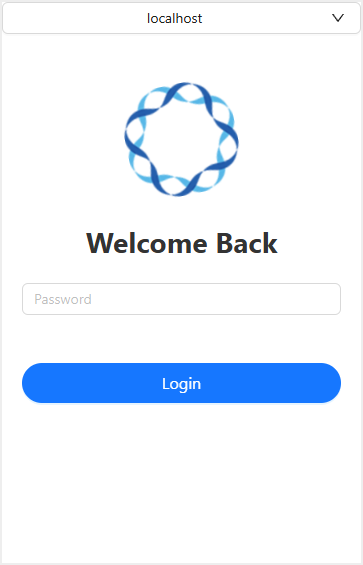
Log in when the popup window appears.
-
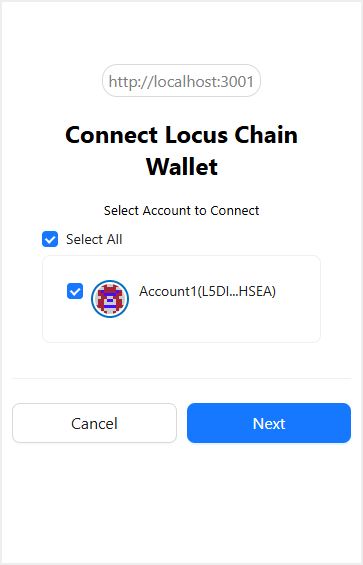
Choose the account you wish to connect to the site and click the 'Next' button.
-
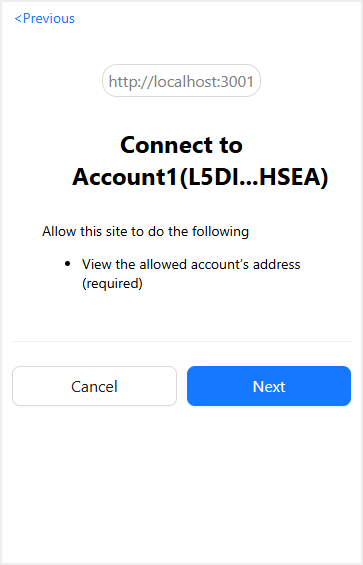
Review the features allowed for the site and click the 'Next' button. Once the connection is complete, the window will close automatically.
-
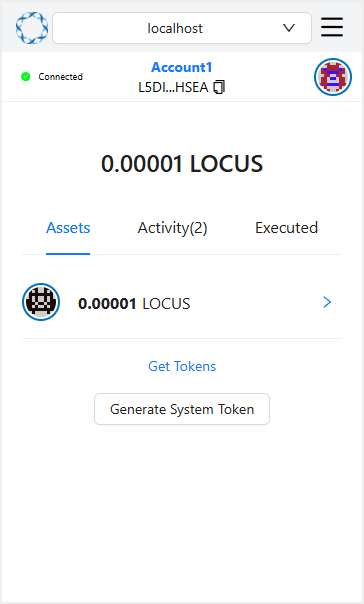
After connecting to the site, the wallet will show a 'Connected' status next to the account name.
Disconnect from the Site
-
Clicking the 'Connected' status next to the account name will show a list of connected sites. You can disconnect by clicking the button next to the designated account.
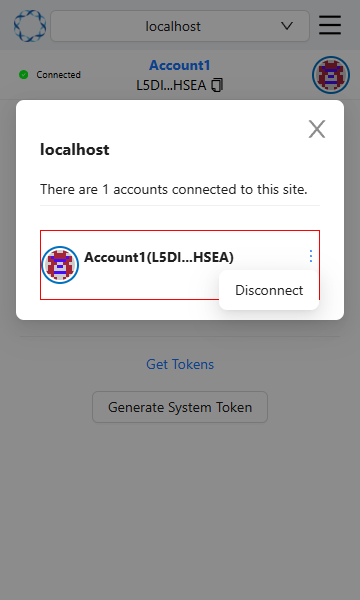
-
The connection is successfully terminated when the status next to the account name displays 'Not Connected'.
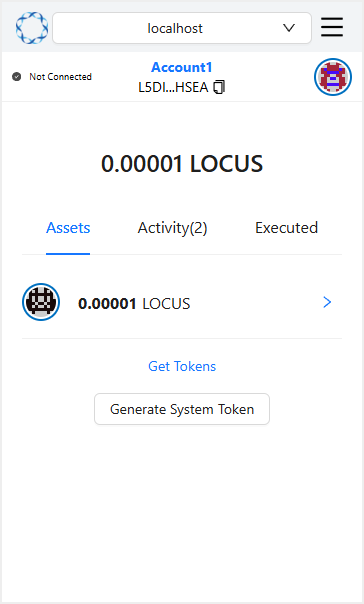
Key File import
-
Click the 'Hamburger' icon at the top-right corner to open the menu, then choose the Import Account using Key File option.
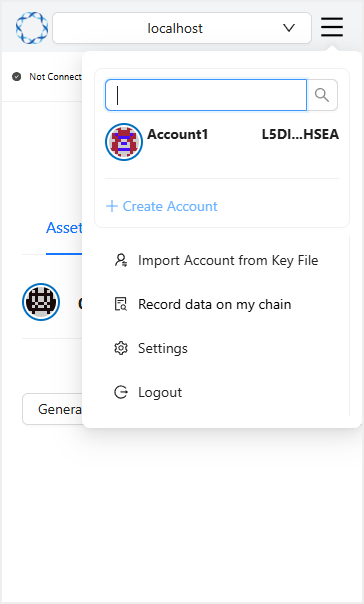
-
Click the 'Select Keystore File' button and choose the key file you want to import.
Enter the password for the key file you wish to import and the account name to display in the wallet, then click the 'Confirm' button. (The account name can be edited after registration.)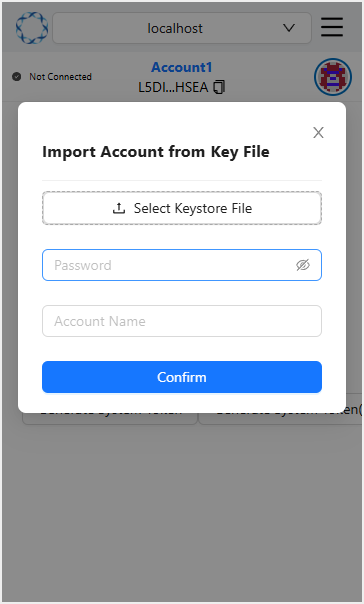
-
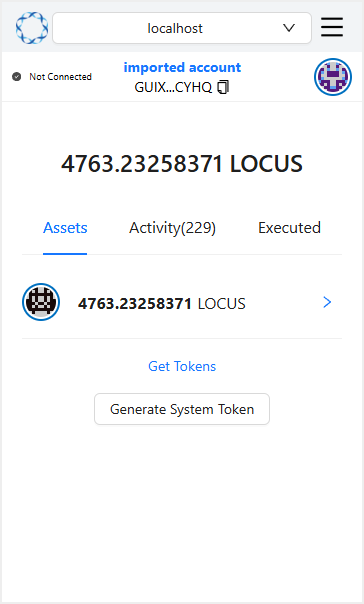
The imported account can be verified.
Send Coin
-
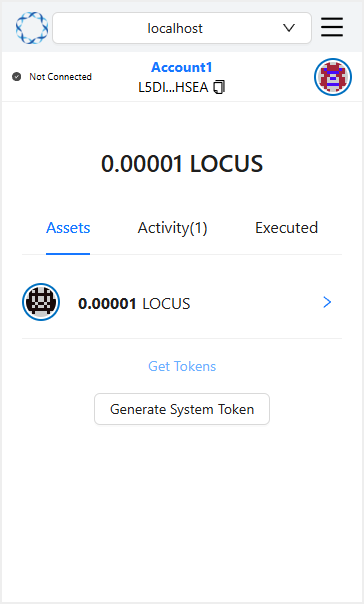
From the asset list, click the > button next to the coin you wish to send.
-
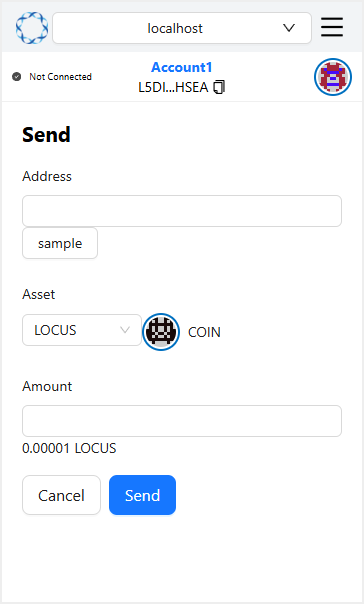
Fill in the required information and click the 'Send' button.
- Address: Recipient's address to receive the coin
- Asset: Type of asset to send (already selected).
- Quantity: Amount of coins to send
System Token Generation
-
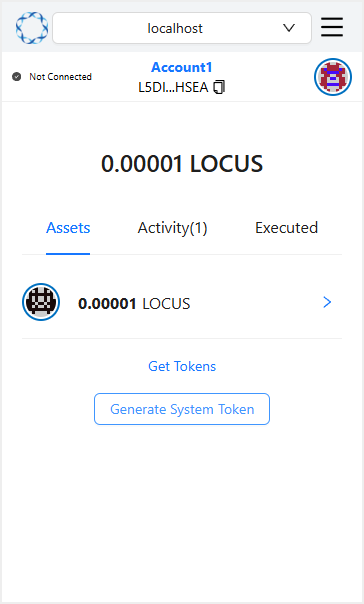
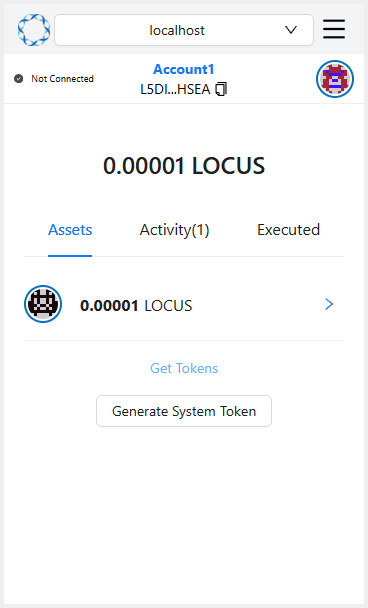
Click the 'Create System Token' button at the bottom of the asset list.
-
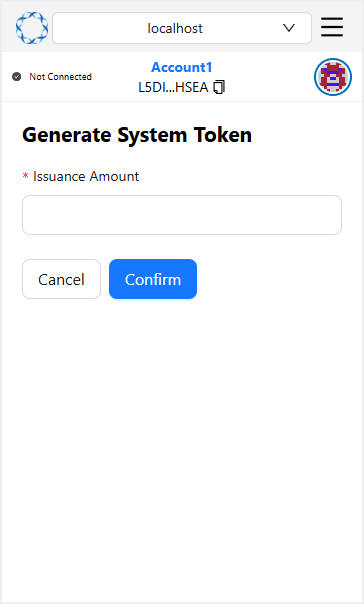
Enter the amount of tokens to be generated and click 'Confirm' button.
Import Token
-
Click the 'Get Token' button at the bottom of the asset list.
-
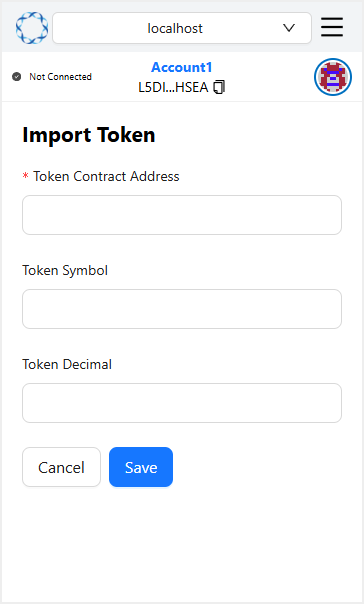
Enter the token information to be displayed in the wallet.
- Contract Address: Token's Contract Address
- Token Ticker: Token's Ticker
- Token Decimal: Token Decimal Places
Add Network
-
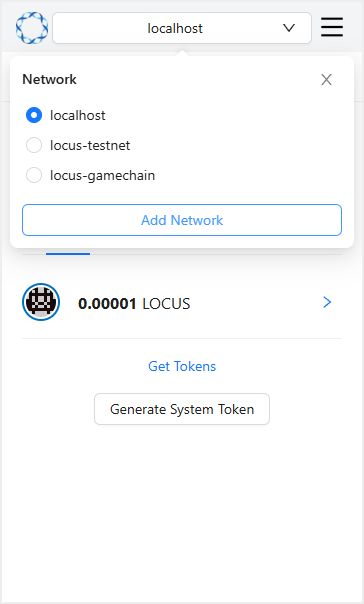
Click the network name displayed at the top of the wallet to view the list of available networks. Click the 'Add Network' button at the bottom of the list.
-
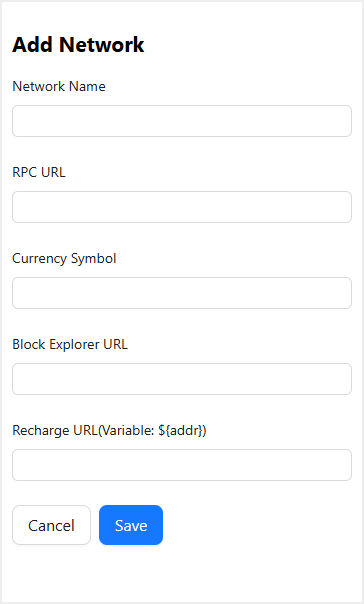
Enter the network information and click the 'Confirm' button.
- Network Name: Network name to be displayed in the wallet
- RPC URL: URL for calling the RPC in the wallet
- Currency Symbol: Default Currency Symbol
- Explorer URL: Explorer URL
- Deposit URL: URL used for automatic deposits
Record data on my chain
-
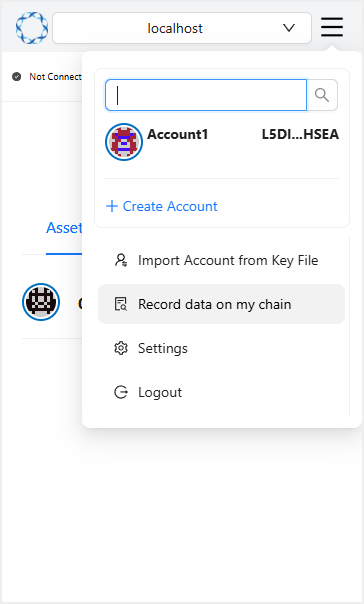
Click the 'Hamburger' icon in the top-right corner to open the menu, then select the 'Record Data' on My Chain option.
-
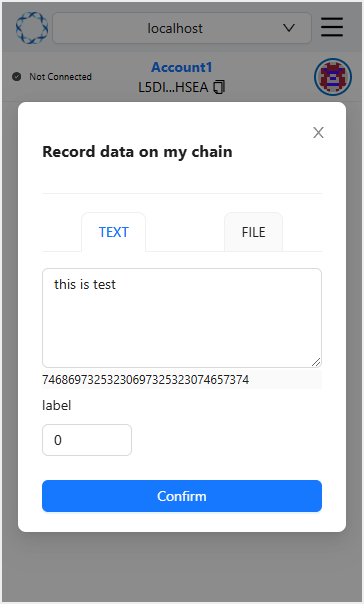
Enter the data to be recorded on the chain either by uploading a file or by typing it directly.
After entering the data, click the 'Confirm' button.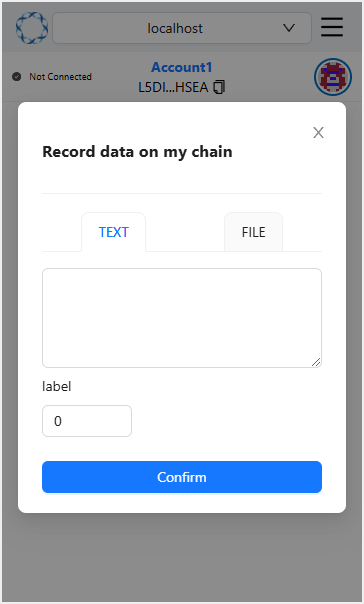 info
infoThe hex value displayed below the input field will be saved as the data.
-
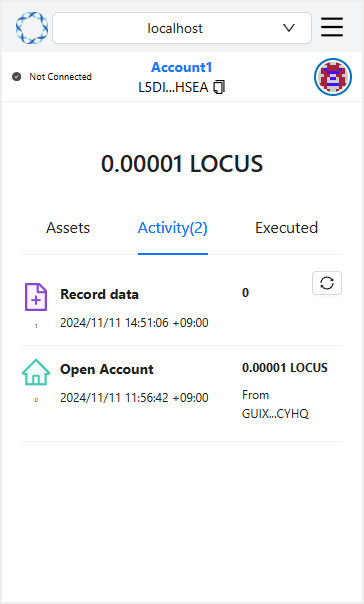
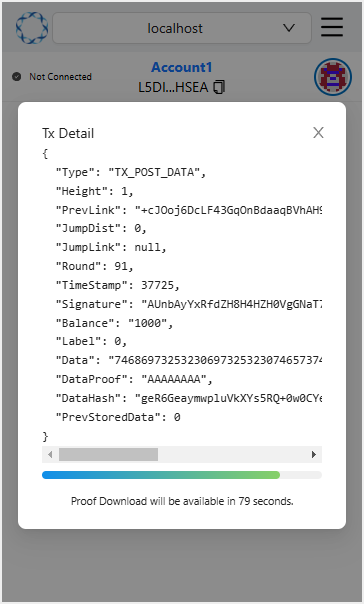
You can view the 'Record Data' transaction under the 'Activity' tab. You can view the recorded data in the 'Data' section of the detail page.
